Getting Started with Airlytix: Connecting to Home Assistant
Once your ES1 is connected to WiFi, the final step is to add it to Home Assistant so you can see all sensor readings, the overall State, and control the indicator light.
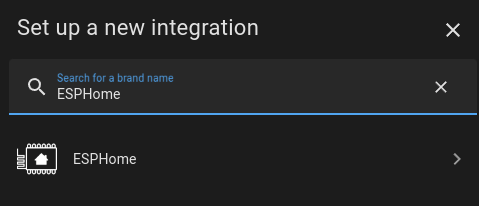
Ensure you have the ESPHome add-on installed in Home Assistant. For more information, see the getting started guide .
Automatic
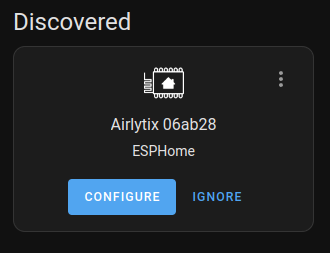
For most users, Home Assistant will automatically discover and add the Airlytix sensor, thanks to ESPHome’s mDNS discovery.
- In Home Assistant, go to “Settings” → “Devices & Services”.
- Look for a discovered device named something like “Airlytix ES1” or “airlytix-es1-xxxxxx”.
- Click the “Configure” button and follow the prompts to add it to Home Assistant.

Verify ES1 in Home Assistant
After adding the integration, open the ES1 device page in Home Assistant and confirm that:
- You can see key sensor entities such as
Temperature,Humidity,CO2, andPressure. - A
Stateentity is present and showsgood,fair, orpoor. - The
Indicator Lightentity appears and can be turned on or off.
As a quick sanity check, you can:
- Breathe near the device or open a window and watch
CO2,VOC, orPMvalues change over the next few minutes. - Confirm that the indicator light colour matches the overall
Statevalue.
Next steps in Home Assistant
After ES1 is connected and verified, you may want to:
- Assign ES1 to an Area (for example, “Living Room” or “Bedroom”) so it appears in the right place in your dashboards.
- Rename key entities (
Temperature,Humidity,CO2,State,Indicator Light) to friendly names that match your home. - Add a simple Lovelace card that shows the
Stateentity, a few core sensor values, and theIndicator Lightcontrol.
Example Lovelace card
Here is a simple entities card that highlights ES1:
type: entities
title: Airlytix ES1
entities:
  - entity: sensor.state
    name: Air quality
  - entity: sensor.temperature
  - entity: sensor.humidity
  - entity: sensor.co2
  - entity: sensor.pm_2_5_weight_concentration
  - entity: sensor.voc
  - entity: light.indicator_light
Depending on your Home Assistant setup, your entity IDs may be prefixed (for example sensor.airlytix_es1_state). Adjust the entity values above to match what you see on the ES1 device page.