Airlytix documentation
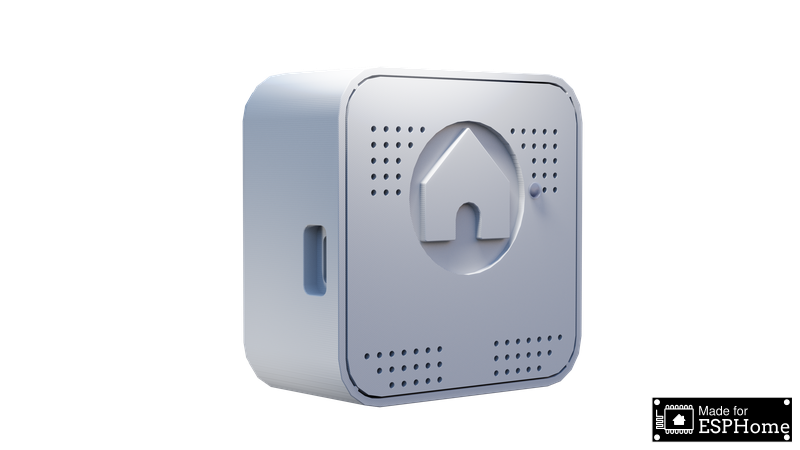
Welcome to Airlytix, the ESPHome-based environmental and air quality sensor designed for seamless integration with Home Assistant. Airlytix provides detailed, real-time monitoring of your indoor environment to help you maintain a healthy and comfortable home.
Airlytix is both an at-a-glance indicator and a detailed measurement hub:
- For most users, the front indicator light works like a traffic light for air quality.
- For power users, Home Assistant exposes all underlying sensor readings and configuration options.
Who ES1 is for
- Home Assistant users who want a local-only, ESPHome-based indoor air quality sensor instead of a cloud monitor.
- Makers who like to see and edit the YAML configuration, build automations, and print or customise their own case.
- Anyone who wants both a simple traffic‑light indicator on the wall and deep access to CO2, PM, VOC/NOx, sound, light, temperature, humidity, and pressure data in Home Assistant.
Key Features
Airlytix is equipped with an array of sensors to monitor your environment thoroughly:
- Particulate Matter Sensor: Measures the concentration of particulate matter (PM) in the air, providing vital data on air quality.
- VOC Sensor: Detects volatile organic compounds, helping you monitor indoor air pollutants and ensure a healthier living environment.
- CO2 Sensor: Keeps track of carbon dioxide levels, essential for maintaining good air quality and comfort.
- Temperature Sensor: Monitors ambient temperature, ensuring your environment is always at your preferred comfort level.
- Humidity Sensor: Measures the moisture level in the air, crucial for both comfort and health.
- Ambient Light Sensor: Detects light levels, enabling you to adjust lighting for optimal comfort and energy efficiency.
- Ambient Sound Level Sensor: Monitors sound levels in the environment, helping you maintain a peaceful and quiet atmosphere.
- Air Pressure Sensor: Tracks atmospheric pressure, providing insights into weather conditions and indoor air quality.
Each of these sensors contributes to a comprehensive understanding of your indoor environment, allowing for informed decisions and integrations with your Home Assistant setup.
Placement and safety
For the most accurate readings:
- Mount ES1 on an interior wall at roughly breathing height (about 1.2–1.8 m from the floor).
- Avoid placing it directly above heaters, radiators, or electronics that emit heat.
- Keep it out of direct sunlight and away from windows, exterior doors, or strong drafts.
- Do not enclose it in cabinets or behind curtains; it needs free air flow around the case.
ES1 is designed for indoor use. If you install it in a semi‑outdoor location (porch, covered area), make sure it is protected from rain, condensation, and direct spray while still allowing air to flow freely around the case.
ES1 is intended as an informational air quality device, not a safety or life‑critical alarm. It does not replace smoke, CO, or gas detectors or certified compliance instrumentation.
At-a-glance air quality
Behind the scenes, ES1 combines all of these measurements into a single overall State in Home Assistant:
good→ indicator light shows greenfair→ indicator light shows orangepoor→ indicator light shows red
This overall State is what most people use on dashboards and in simple automations (for example, turning on ventilation when the State is poor).
Where to go next
- Start with Getting Started to assemble ES1, connect it to WiFi, and add it to Home Assistant.
- Visit Entities to see what each reading means and how to interpret it in daily life.
- Use Configuration to fine-tune thresholds and offsets so that "good", "fair", and "poor" match your home and preferences.